Gluten free potato cakes

I was inspired to try making some potato cake type snacks after trying ‘Glamorgan Sausages’ from a company called Goodlife. I hadn’t heard of this company before, but discovered a few of their products in the frozen aisle. I had been craving some kind of veggie burger/bean burger thing for a while – the café I used to work in B.A. (before allergy) used to have these amazing spicy coated bean burgers and I miss them – so I was looking at the veggie burgers when I came across Goodlife. The packaging of the Glamorgan sausages doesn’t jump out at you as being gluten free, but once I had scanned over the cardboard box I found the small gluten free symbol, and of course checked the ingredients just to be sure!

I cooked the so-called veggie sausages and I have to say they tasted great, but I would one hundred per cent have called them potato and vegetable croquettes if it were me who had been in charge of naming! So after eating these I decided to try making my own potato cake-y-ish-type of something.

If you have left-over boiled potatoes from last night’s supper, this is a super tasty snack or meal accompaniment to use them up!

For this I used:

About 5 medium sized new potatoes
1 carrot
1 large onion
A handful of peas
1 tbsp gluten free flour
1/2 tsp turmeric
1/2 tsb chilli powder
Salt & pepper

Image

I boiled the potatoes, waited until they were cool, then mashed them up in a large bowl. After this I grated in the carrot – I chopped off the ends but didn’t peel it. I finely chopped the onion and added that to the bowl, along with the peas. With my hands I mixed up the mixture a little, then added in the flour, spices, salt and pepper. After all the ingredients are well and truly mushed up together, heat oil in a frying pan. On a clean surface or chopping board, sprinkle a good covering of flour, and then grab small handfuls of the mixture and press into the flour, making them into small pancakes about 1cm thick. Fry them in batches and turn them until they have turned golden brown. Enjoy!

Image

Image

I wouldn’t say my version tasted very much like the ones I got from Goodlife – they were quite different – but I would definitely recommend trying some of their products if you come across them – they are all vegetarian and they do a selection of gluten, dairy and egg free food. I will definitely be looking out for more of their products!

Here is a link to their website. 

Gluten Free Lemon Drizzle Cake

Image

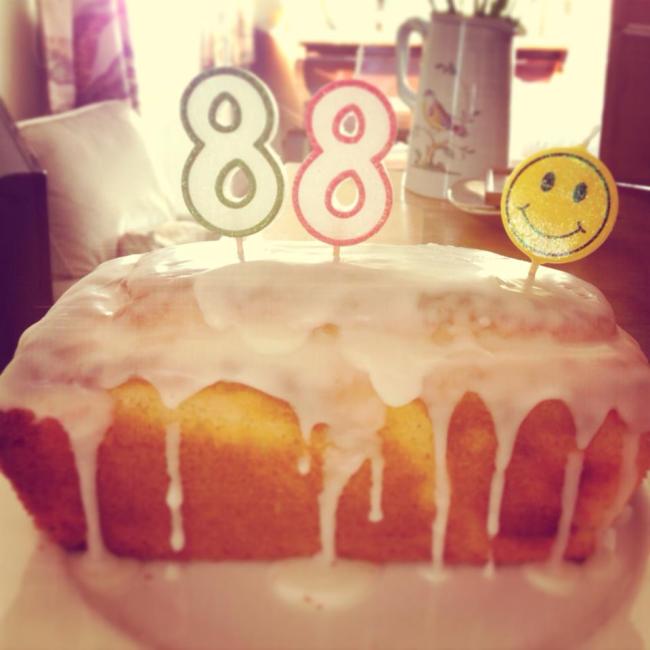
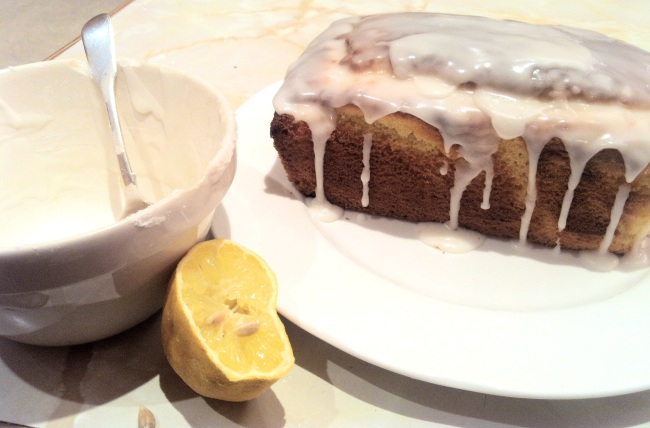
It was my Grandma’s 88th birthday yesterday so obviously, it was cake making time! I couldn’t decide between an amazing flourless rich chocolate cake I make, a cream and fruit cake, or lemon drizzle. In the end I decided I better go with which one I thought she’d appreciate most (although if I’d been making it for myself it would 100% have been the chocolate one) so I went with a gluten free lemon drizzle cake. The strong citrus taste gives it loads of flavour and the ‘drizzle’ part of it keeps it moist. Because the drizzle and icing are made from pure lemon juice, it tastes amazingly fresh and zingy unlike some synthetic overly-sweet lemon cakes you can buy in shops.

Image

For my Grandma’s birthday day out, we took her to the amazing cake shop in outside of Kingussie I mentioned before, The Potting Shed, so after we’d had cake there, my lemon cake seemed a bit redundant! But it was enjoyed anyway (I hope!)

The recipe I use for the main cake mixture is one I took from a basic fruit cake recipe I used to use when I worked in a coffee shop. It works really well for fruit cakes and more dense cakes you’d bake in a loaf tin and is less runny than a regular sponge cake mixture. I’ve changed it around a bit to suit being gluten free but I find it gives a great result as with the lemon drizzle cake, the lemon adds extra moisture, and if you were to use it as a fruit cake mixture the fruits in it provide the moisture.

Ingredients:

(For the cake mixture) –

1 un-waxed lemon

7oz self-raising gluten free flour

4oz margarine

4oz caster sugar

2 large eggs

(For the top)

1 un-waxed lemon

Roughly 1oz caster sugar

Roughly 3oz icing sugar

Image

Method:

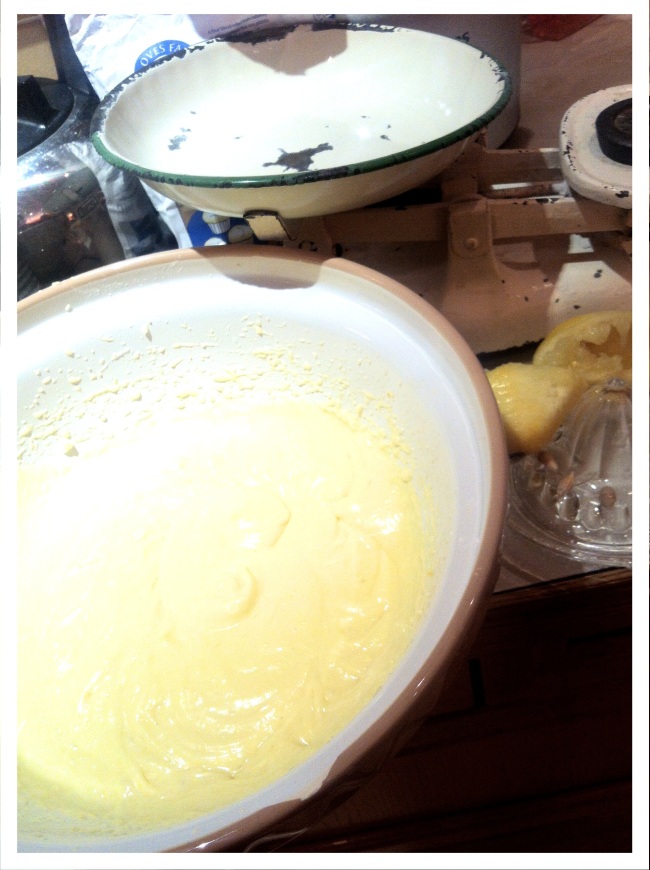
Firstly, turn the oven on to 160°C, and line a loaf tin about 8X3 inches and 4 inches deep. Cream together the sugar and margarine with an electric whisk and then add in the flour. Add the rind of both of the lemons (the one for the top just needs the juice) to the mixture, then juice the lemon. Beat the eggs separately and add the lemon juice – add this to the main mixture and whisk until there are no lumps. Transfer the mixture to the loaf tin and bake for around 40 minutes. When the cake comes out it should be firm.

To make the ‘drizzle’ part of the cake, cut the remaining lemon in half and juice one half. Pour the juice into a small bowl and add some caster sugar. 1oz is a guide – probably about a tablespoon will do because you don’t want this mixture too thick. With a skewer or another long pointy utensil, stab holes in the top of the cake – probably about 8 – 10 evenly along it, however if the cake looks like it starts to crumble when the holes are poked in it, don’t add too many close together. Pour the lemon sugar mixture over the top of the cake, being careful to fill the small holes that have been made. The more holes that are made, the more moist the cake will be, but don’t push it because when you go to cut it into slices, it’ll just fall apart.

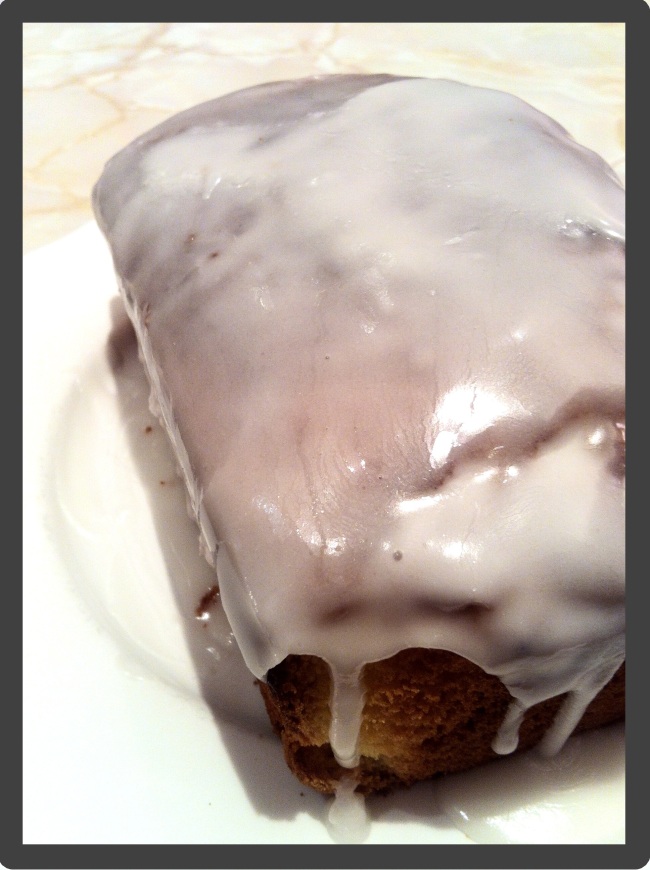
For the icing, juice the other half of the lemon and use the same bowl as the first lemon sugar mix. Gradually add the icing sugar until you have a white paste – if it doesn’t look like there will be enough lemon juice to make enough icing to spread on the whole cake, add a tiny bit of water although it is a shame to do this because it dilutes the taste. Remove the cake from the baking paper and place it on the plate it will be served on. Then generously smear the icing over the top – it will fall down the sides but I think this adds to it.

Enjoy!

Image

Gluten free toad in the hole and Yorkshire pudding recipe!

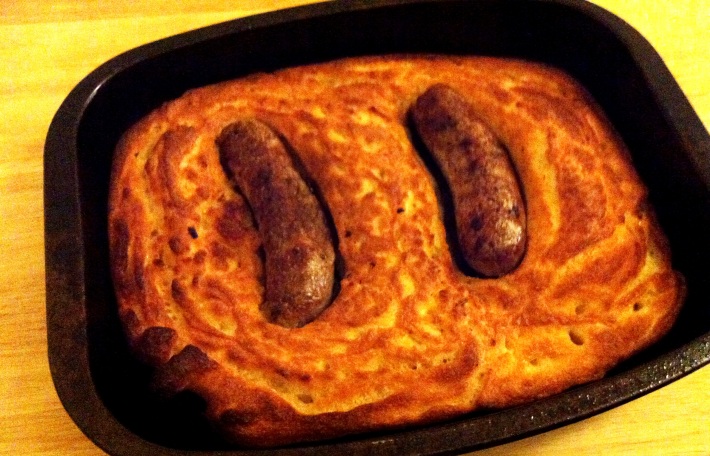
This batter can be used either to make toad in the hole or Yorkshire pudding. I prefer it as a toad in the hole, because as you will know if you have made gluten free Yorkshire puddings, they don’t rise and become a bowl shape like regular ones, they puff up more like a bread roll. The toad in the hole has more surface area, therefore leaving more of the batter to get crispy, something I miss with the dough-ey consistency of the Yorkshire puddings.

If, like me you had a struggle finding gluten free sausages in supermarkets such as Tesco, I’d suggest Marks and Spencers as even their value range – which is only 61% pork – is made with gluten free crumb, as are most of their other own-brand sausages.

I make enough for two meals so I cut it in half and freeze one for another time. Using half the ingredients makes enough for one meal.

Ingredients:

4oz self-raising gluten free flour
2 eggs
4 fluid oz milk
1 fluid oz water
1 tsp baking powder
salt and pepper
dripping or oil
4 sausages

Turn the oven on to 220 as soon as you start cooking. Cook the sausages until done, but not crispy as they will have more cooking time in the oven with the batter. Whilst the sausages are cooking, pour the milk into a large measuring jug (you will use the jug for the entire mixture so it needs to be big enough to fit a whisk in) and then measure the water in with the milk. Weigh the flour and put that in along with the baking powder, and then the eggs after. Add the salt and a generous amount of black pepper. Use a hand or electric whisk to mix the batter – if you are using a hand whisk make sure to mix it quite well as to get some air in. When the sausages have about 5 minutes to go, put the oil or dripping into a baking tray and put in the oven. The fat needs to be smoking hot.
When the sausages are cooked enough and the fat has been in the oven for 5 minutes or is hot enough, take the pan out of the oven, place the sausages in it evenly spaced apart, then pour in the batter – this needs to be done quickly so that the fat stays hot enough and sizzling when the mixture is poured in. Put this back in the oven now for about 10-15 minutes and take it out when it’s quite brown.

Image